
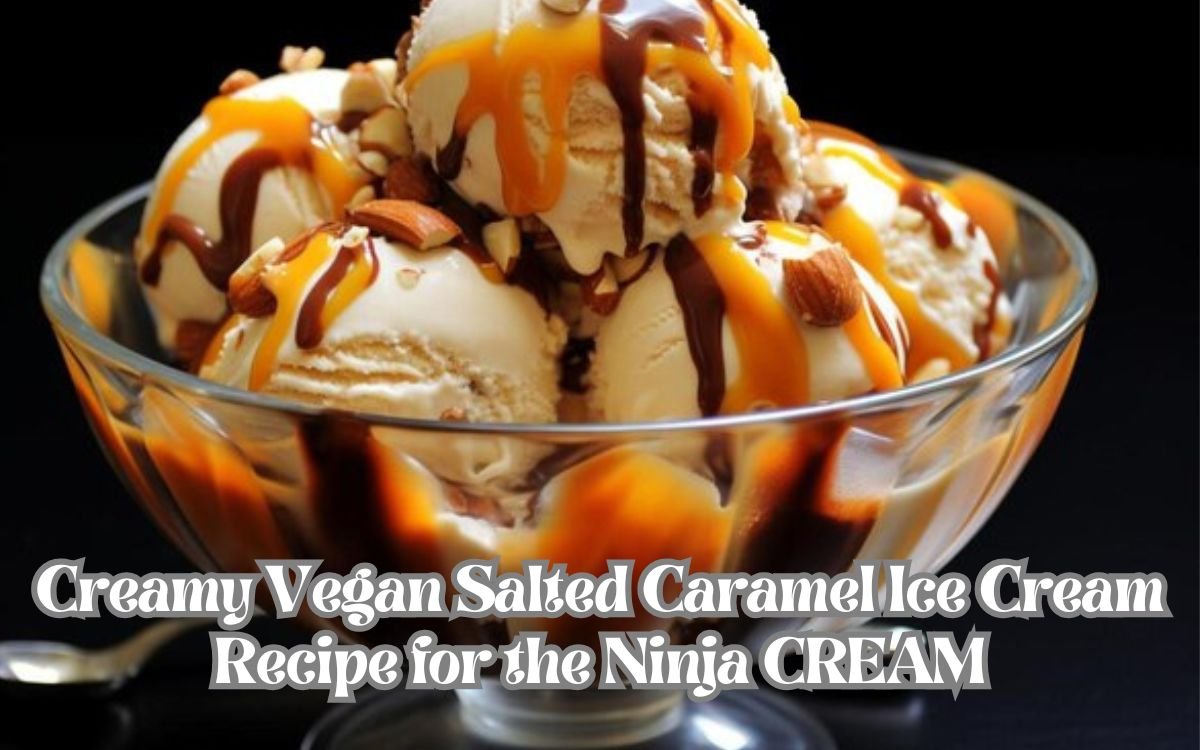
Fresh off my latest blog post, I’m excited to share another Ninja CREAM recipe with you vegan salted caramel ice cream!
Vegan Salted Caramel Ice Cream in the Ninja CREAM
Jump to Recipe:
Here is another Ninja CREAM recipe for you: vegan salted caramel ice cream!
I am super excited to share this recipe. As I said in a few posts, I had always been a sucker for my ice creams.
Recently, however, I have noticed that most of the non-dairy ice cream options are rather questionable for two reasons:
If you love salted caramel, then you are seeking a vegan-friendly, dairy-free version that doesn’t compromise on flavor or creaminess.
The good news is that you don’t have to look any further because today’s recipe allows you to easily produce vegan salted caramel ice cream using the innovative Ninja CREAM that is able to churn out creamy and smooth ice cream.
Now you can easily replicate your favour frozen desserts right in the comfort of your own home.
Why Choose the Ninja CREAM for Vegan Ice Cream?
If you love salted caramel, then you are seeking a vegan-friendly, dairy-free version that doesn’t compromise on flavor or creaminess. The good news is that you don’t have to look any further because today’s recipe allows you to easily produce vegan salted caramel ice cream using the innovative Ninja CREAM that is able to churn out creamy and smooth ice cream.
Now you can easily replicate your favourite frozen desserts right in the comfort of your own home.
The Ninja CREAM overcomes this problem by aerating the mixture as the machine breaks down ice crystals, making it a texture so close to traditional dairy ice cream it seems impossible, making it an ideal appliance to make vegan desserts at home.
Ingredients for vegan salted caramel ice cream
You will need the following to make this rich yet healthy dessert:
2 cans full-fat coconut milk. This is your creamy ice cream base. Coconut milk is one of the best milks to use in ice cream, because the fat content provides a rich and creamy texture, but feel free to use any type of milk – cashew or almond milk also work well.
Maple syrup or agave nectar (½ cup): It is a natural sweetener that becomes perfectly mixed with the coconut milk and elevates the flavor of caramel.
Medjool dates (1 cup, pitted and soaked): The dates come with a natural sweetness and are wonderful to create the caramel flavor without introducing refined sugar in the recipe.
Vanilla extract (1 teaspoon): Vanilla adds a rich depth to the flavor of ice cream.
Sea Salt (½ teaspoon): The salt enhances the caramel sweetness as well as delivers that irresistible savory salted caramel flavor.
Coconut oil (2 tablespoons): Use of a little coconut oil ensures ice cream is rich and creamy.
Use arrowroot powder or cornstarch for 1 tablespoon-this is a thickener that’s added to the ice cream to give it a smoother texture.
Optional: you can add almond butter or tahini-for 2 tablespoons-to deepen the caramel flavor.
Use arrowroot powder or cornstarch for 1 tablespoon-this is a thickener that’s added to the ice cream to give it a smoother texture.
Step-by-Step Vegan Salted Caramel Ice Cream Recipe
Step 1: Soak the Dates:
Begin by soaking those pitted Medjool dates in warm water for approximately 15 minutes. You do this because the soaking will soften them, making them easier to blend and thereby helping to achieve the smooth, caramel-like consistency.
Step 2: Prep the Ice Cream Base:
Add the softened dates with coconut milk, maple syrup, vanilla, sea salt, and coconut oil into a high-powered blender and blend until silky smooth and creamy.
If you want to add a little more caramel flavor from either your almond butter or tahini, you can toss it in now.
Step 3: Add the Thickener
If an icy texture in your ice cream is undesirable, the arrowroot powder or the cornstarch would be mixed with 2 tablespoons of water to make a slurry. Then it is going to be added to the mixture and blended again until everything is well incorporated.
Step 4: Chilling the Mixture
Pour it into the Ninja CREAM pint container. Fill to the top, but leave some head space on the top as it will expand when it is freezing. Place the container in the freezer for at least 24 hours. The Ninja CREAMi works best with totally frozen mixtures.
Step 5: Churn the ice cream
Once frozen as a solid, take the pint out of the freezer and attach it to your Ninja CREAM With the “Ice Cream” setting on the Ninja CREAM let it churn the frozen mixture. Your frozen base is broken down with ice crystals and incorporated air, thereby creating incredibly smooth and creamy vegan ice cream.
Then, if the ice cream becomes too icy or remains as crumbs after one cycle, apply the “Re-spin” function for churning of the ice cream, so it is smoother and creamier.
Step 6: Enjoy!!!
When the ice cream is at its perfect consistency, scoop it out and serve. And for that extra flavor, you can put a dash of vegan caramel sauce on top, sprinkle sea salt, or add chopped nuts for that crunch to satisfy your sore taste buds.
Achieving the perfect vegan ice cream involves all the following tips
Chill the ingredients: Before you mix your ice cream base, ensure all your ingredients are chilled. Chilling endows ice cream with a better texture and serves to freeze more evenly, therefore limiting ice crystals from forming in ice.
Use full-fat coconut milk: In case you want a rich, smooth ice cream, it’s fundamental to use full-fat coconut milk because this contains all the required fat. Otherwise, if you utilize low-fat variations, it may become too icy.
Balancing sweetness: If you prefer the ice cream to be too sweet or not so sweet, go ahead and add a little maple syrup or more, to taste. Dates will naturally give your ice cream a sweetness flavor, so you don’t need much of it extra.
Try different flavors: Once you’ve managed to make the salted caramel base, then go wild with flavor. Use cocoa powder to give a chocolate flava to the caramel or just chop dark chocolate or nuts and stir those in for texture.
Why Vegan Salted Caramel Ice Cream?
This vegan salted caramel ice cream offers a fantastic taste combined with the healthy advantages, making it a healthier substitute for dairy ice cream. Here’s why:
Dairy-free: This ice cream is perfectly suitable for those who are lactose intolerant or follow a vegan diet as it is prepared without any animal products.
No processed sugars: Natural sweetness is drawn from dates and maple syrup, making this healthier and containing more nutrients and minerals.
Low saturated fat: Coconut milk contains saturated fat, but it is the type that is easier for the body to metabolize. Plus, with no cholesterol present, it’s heart healthy.
Rich in nutrients: Dates are full of fibers, potassium, and antioxidants, making the dessert really nutritious.
Conclusion:
Vegan salted caramel ice cream in the Ninja CREAM is easy and fun to make – and as decadent, creamy, and less bad for you compared to regular ice cream. Whether you’re vegan, lactose intolerant, or just looking for a more plant-based treat, this recipe will definitely make its way into your household favorites list.
A decadent dessert: silky coconut milk, sweet dates, and just a pinch of sea salt. Great for satisfying that craving for something sweet without a trace of dairy. Make delicious homemade vegan ice cream that tastes just like any box or store-bought kind, both in flavor and texture, with the Ninja CREAM. Get your ingredients and start churning!